
Brick Repair & Replacement in Toronto | Toronto Masonry Contractors for Brick Restoration
CALL NOW
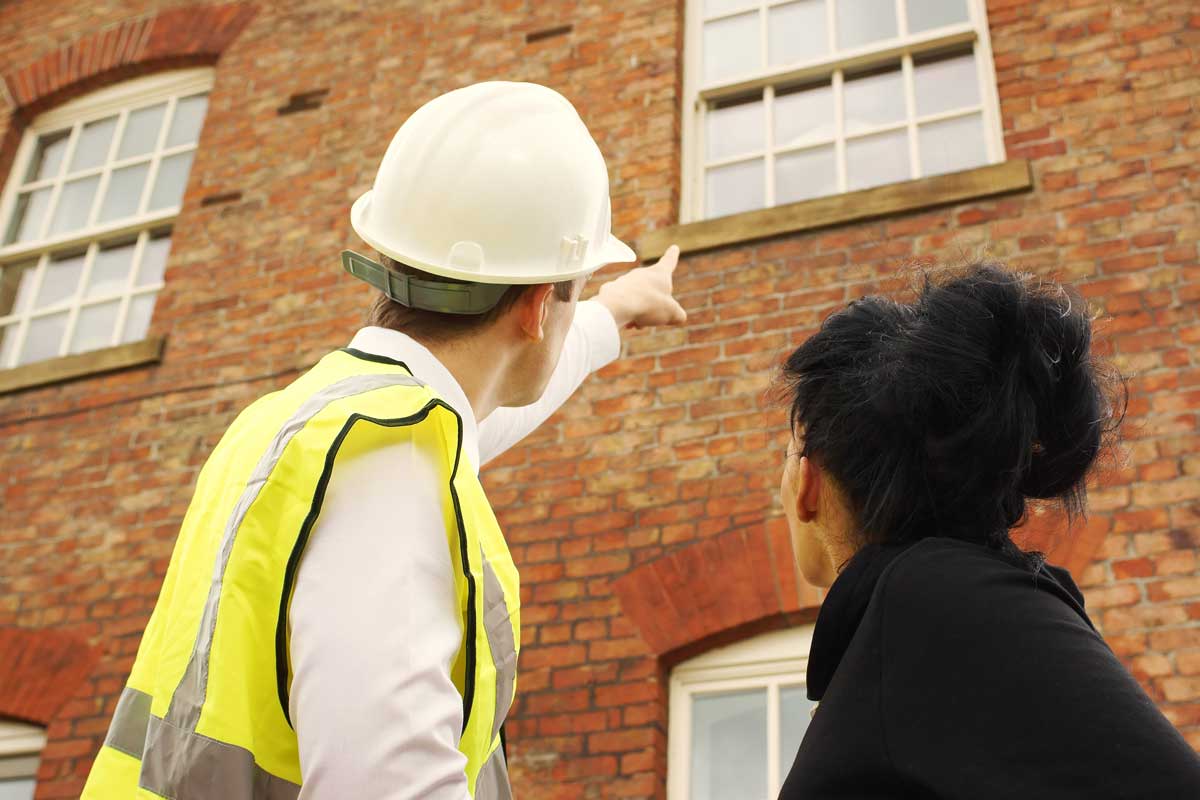
Hire Toronto’s Best Masonry Contractors for Brick Repair Services
If you’re in need of expert brick repair services in Toronto, look no further. Our seasoned masonry contractors specialize in brickwork repair, restoration, and even complete replacement.
We’re recognized as the premier Toronto brick repair professionals due to our dedication to quality and craftsmanship. Whether it’s a historic building or a modern residence requiring attention, our Toronto masonry team has the skills to address any issue with efficiency and aesthetic finesse.
Our comprehensive masonry services include thorough assessments and tailor-made solutions ensuring your brick repairs stand the test of time. Trust us to maintain the integrity and beauty of your property with our top-notch brick repair Toronto expertise combined with reliable masonry repair techniques.
Don’t wait – hire Toronto’s best for your brick repair needs today!
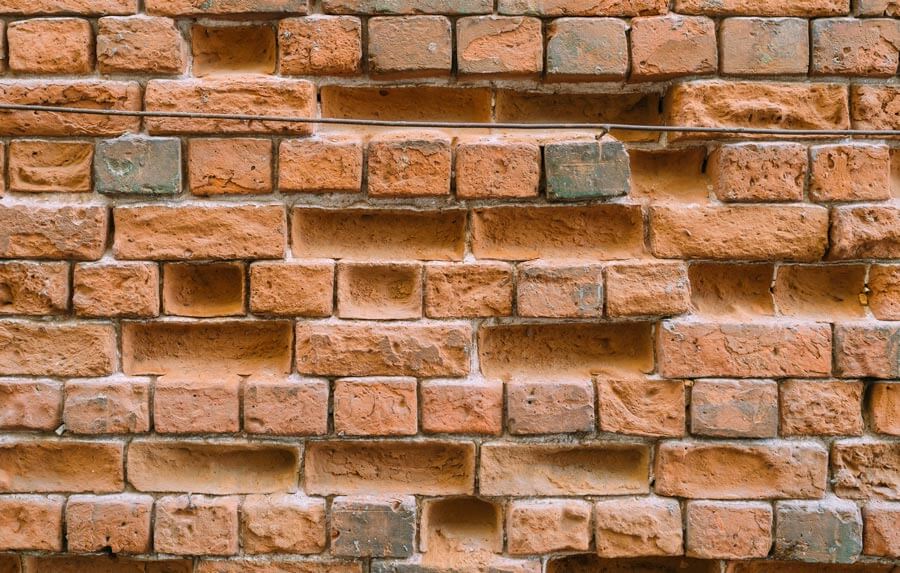
Early Signs of Deterioration in Brick Masonry
Identifying the early signs of deterioration in brick masonry is crucial for maintaining the structural integrity of your Toronto property.
Common indicators that brickwork repair may be necessary include cracking, crumbling, or missing mortar joints, and visible wear that compromises the aesthetic and functional aspects of the brickwork. If these issues are present, it’s essential to seek brick restoration services promptly to prevent further damage. Ignoring minor issues can lead to a need for more extensive masonry repairs.
Fortunately, experienced Toronto brick specialists offer comprehensive solutions for both minor and extensive repairs. Regular inspections and maintenance by a professional in masonry repair and brick repair ensure your brickwork remains in pristine condition, safeguarding your property’s value and safety.
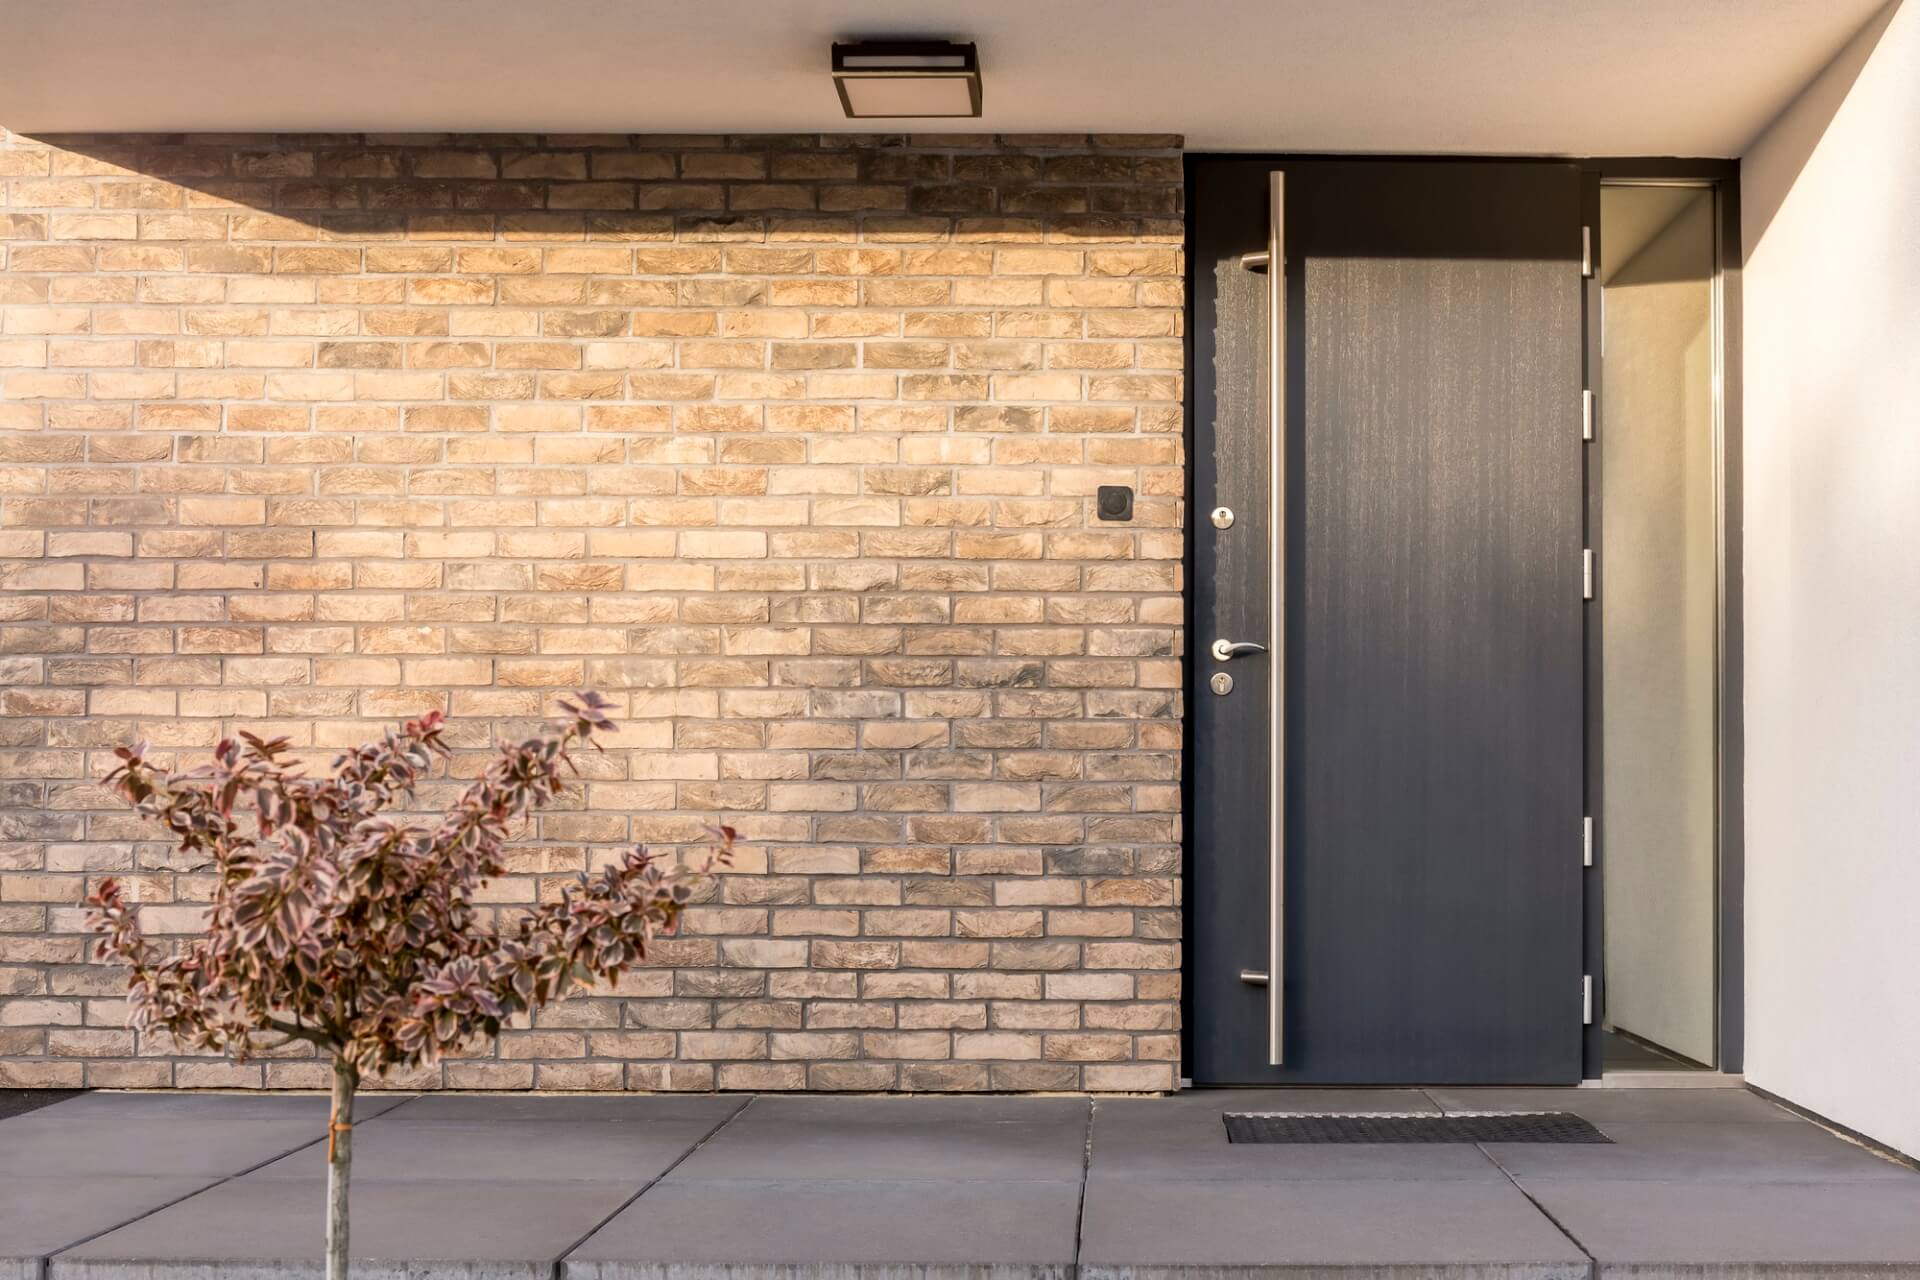
Preventive Measures for
Long-lasting Brickwork
To ensure your brickwork stands the test of time, implementing preventive strategies is crucial.
In Toronto, where varying weather can take a toll, regular brickwork repair services play a pivotal role in maintaining the integrity of your masonry. Opting for professional brick replacement when needed can thwart further deterioration and safeguard the structure. Proactive surveillance for early signs can lead to timely repair, circumventing the need for extensive restoration.
Employing quality restoration techniques not only revives the look but also fortifies the brickwork against future damage. With reliable services, your brick maintenance doesn’t have to be a hassle.
Trust Bowman Masonry your Toronto masonry contractor to replace and restore, ensuring your brick property remains resilient and aesthetically pleasing.

Why Choose Our Brick Replacement and Masonry Repair Services?
When it comes to preserving the integrity and aesthetics of your home, our brick replacement and masonry repair services stand out in Toronto. Opting for our specialized masonry repairs ensures that every brick repair is meticulously undertaken by seasoned Toronto masonry professionals.
Our comprehensive masonry services cover everything from crucial structural repair to the restoration of historic facades. We don’t just address the surface issues; we delve into the root cause to provide long-lasting solutions. Whether it’s routine wear or severe damage, our brick repairs are executed with precision and care, guaranteeing the revival of your property’s charm.
With an emphasis on quality and durability, our services are tailored to maintain the robustness of your brickwork, making us a trusted choice for masonry repair services in the Toronto & GTA area.
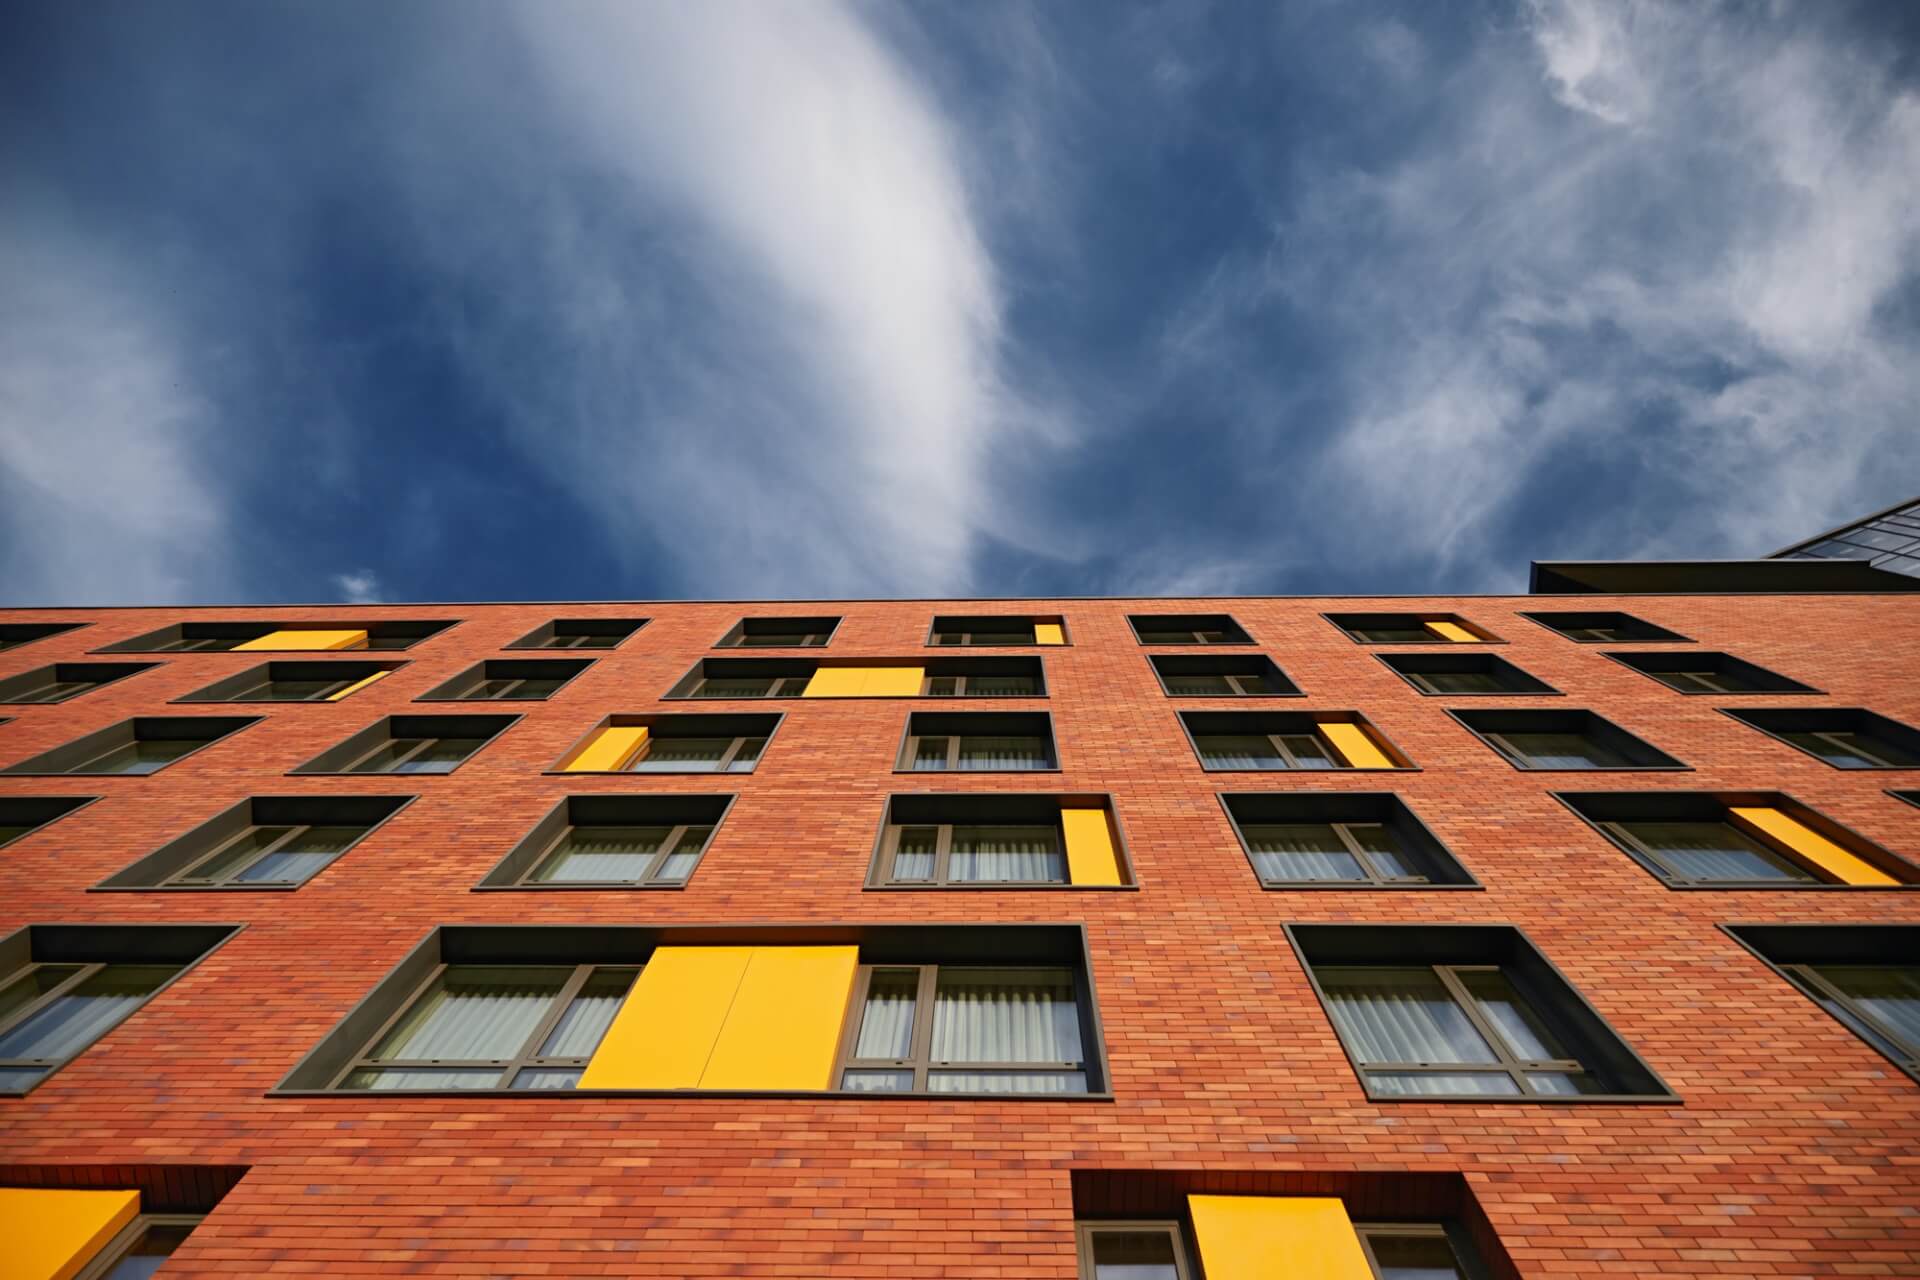
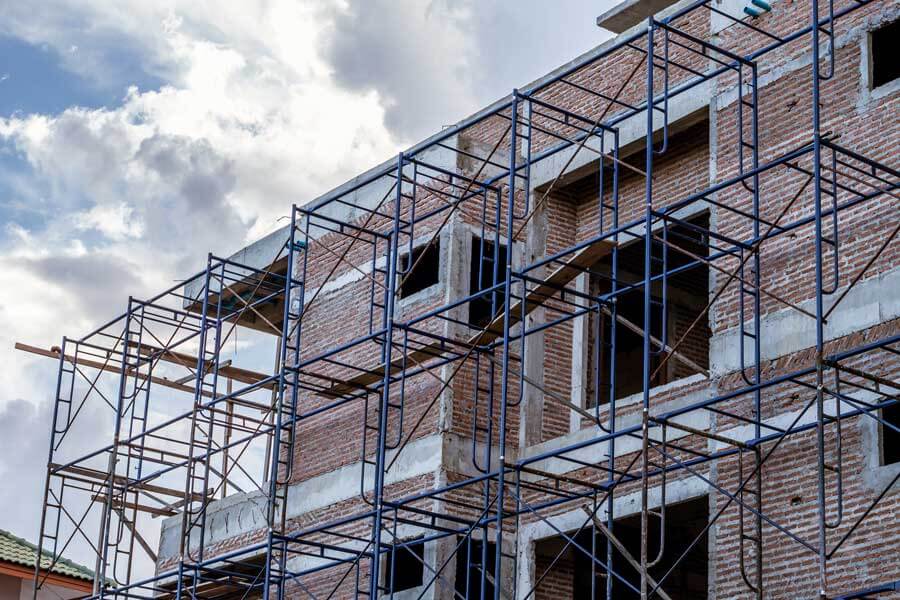
Commercial Brick Restoration: Reviving the Aesthetics of Toronto's Buildings
Brick restoration is at the heart of preserving the remarkable aesthetics of Toronto’s buildings. With the city’s rich architectural heritage, the role of expert masonry services cannot be understated.
Whether it’s the iconic red brick or the subtle charm of aged brickwork, each repair breathes new life into our urban fabric. At our Bowman Masonry, we prioritize the integrity of your structure, skillfully executing brick repair Toronto Businesses trust.
Recognizing the early signs of deterioration ensures that masonry repair is timely, preventing further damage. Our comprehensive masonry services cater to every aspect of brickwork repair, promoting preventive measures for long-lasting results.
When faced with the need for brick restorations & replacement, it’s crucial to hire Toronto’s best masonry contractors, those dedicated to reviving not just the stability but also the aesthetics of the buildings we cherish.
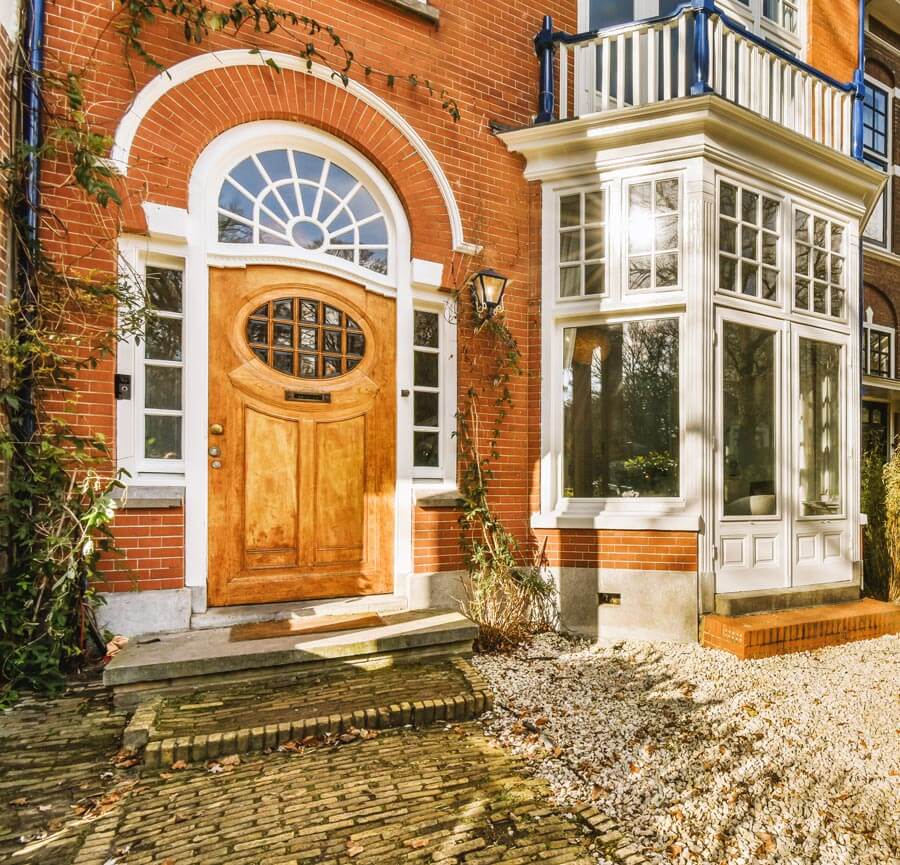
Comprehensive Masonry Services in Toronto: Restoration to Repairs
Ensuring the integrity and beauty of Toronto’s buildings, our masonry services cover a broad spectrum of needs, from meticulous brick restoration to essential masonry repair.
Experienced in the sometimes complex craft of Toronto masonry, our team is renowned for delivering exceptional brickwork repair with a commitment to quality and durability.
At the core of our services is a detailed-oriented approach towards brick repair that Toronto residents trust. Whether you’re facing early signs of deterioration that require prompt repair or seeking comprehensive masonry repairs, our capabilities encapsulate the full extent of restoration and repair work.
Relying on seasoned Toronto masonry contractors means that every repair is carried out with precision, blending seamlessly with the existing structure, solidifying the value and safety of your property
Request Your Project Estimate for Brick Repairs
If you’ve noticed signs of wear or damage on your brickwork, don’t hesitate to request an estimate for your brick repair or replacement project.
Our Toronto brick repair services are second to none, ensuring that every brick repair and restoration project in Toronto & the GTA is handled with precision and care. As the go-to team for brick repairs in the region, our skilled masonry contractors are dedicated to delivering exceptional service.
Understanding the potential severity of brick deterioration, we offer comprehensive assessments to provide you with an accurate estimate, allowing you to make an informed decision for your repair or replacement needs.
Whether it’s preventive measures or urgent brick replacement, our Toronto-based team stands ready to restore the structural integrity and aesthetics of your brickwork.